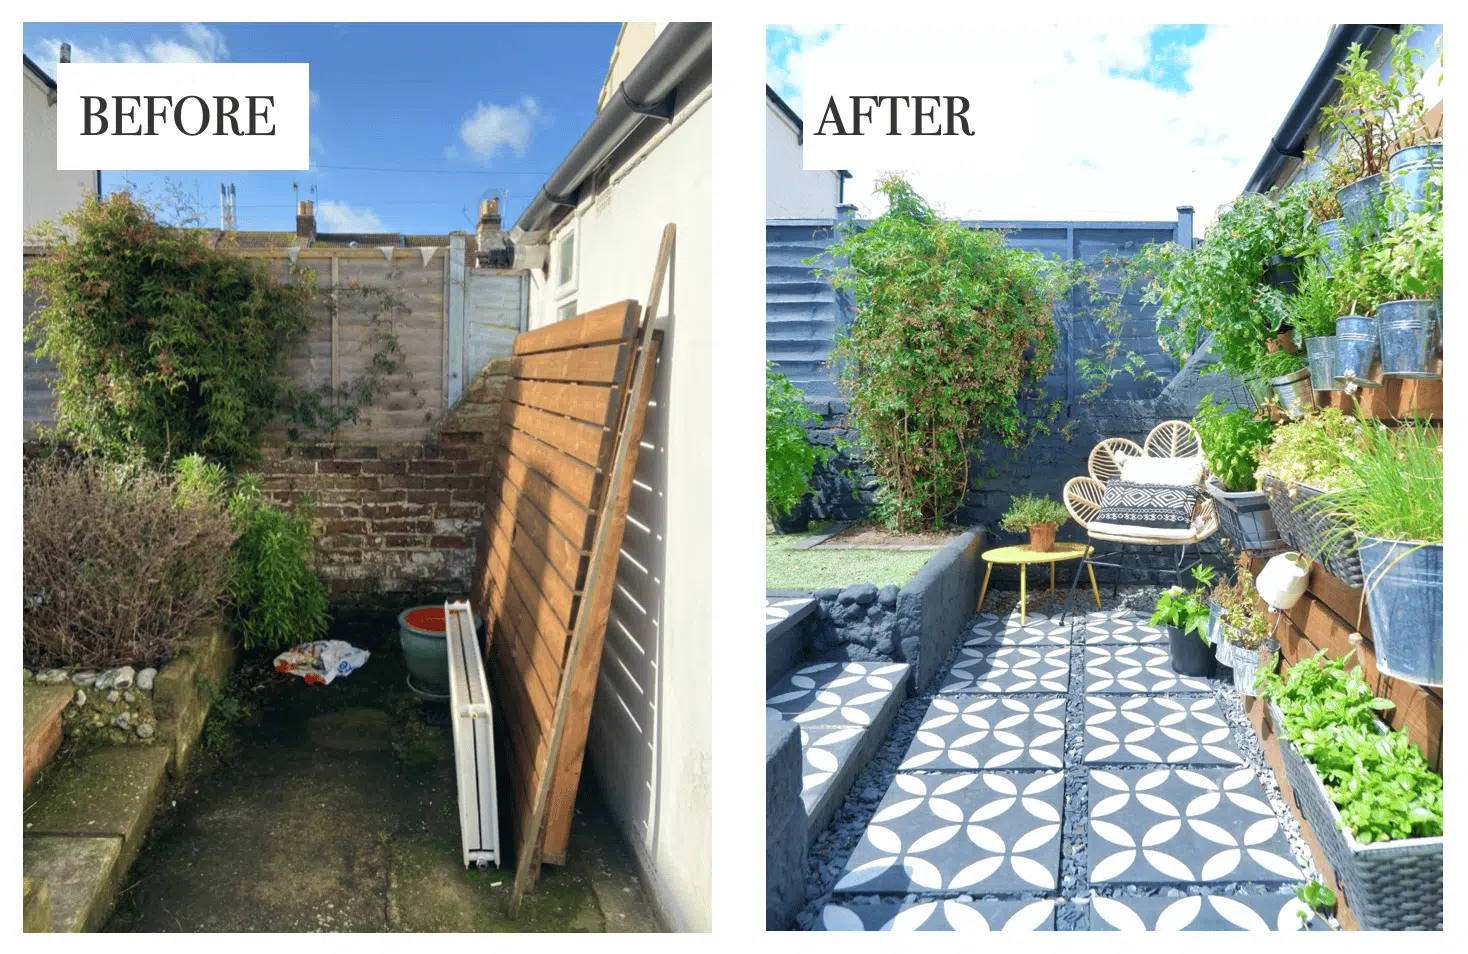
Painting patio tiles to give them a new lease of life has become very popular in recent years and it’s easy to see why. It is a quick, easy and very affordable way to help give your garden a makeover.
So, we are going to be sharing some of our top tips on how you can get the best finish possible.
Prepare the surface
Regular readers of our blog posts may have seen us mention this before, but the preparation of any surface before a finish is paramount. You simply won’t get a good, long-lasting result if the surface isn’t properly prepared. So, we recommend a few things:
Clean the surface
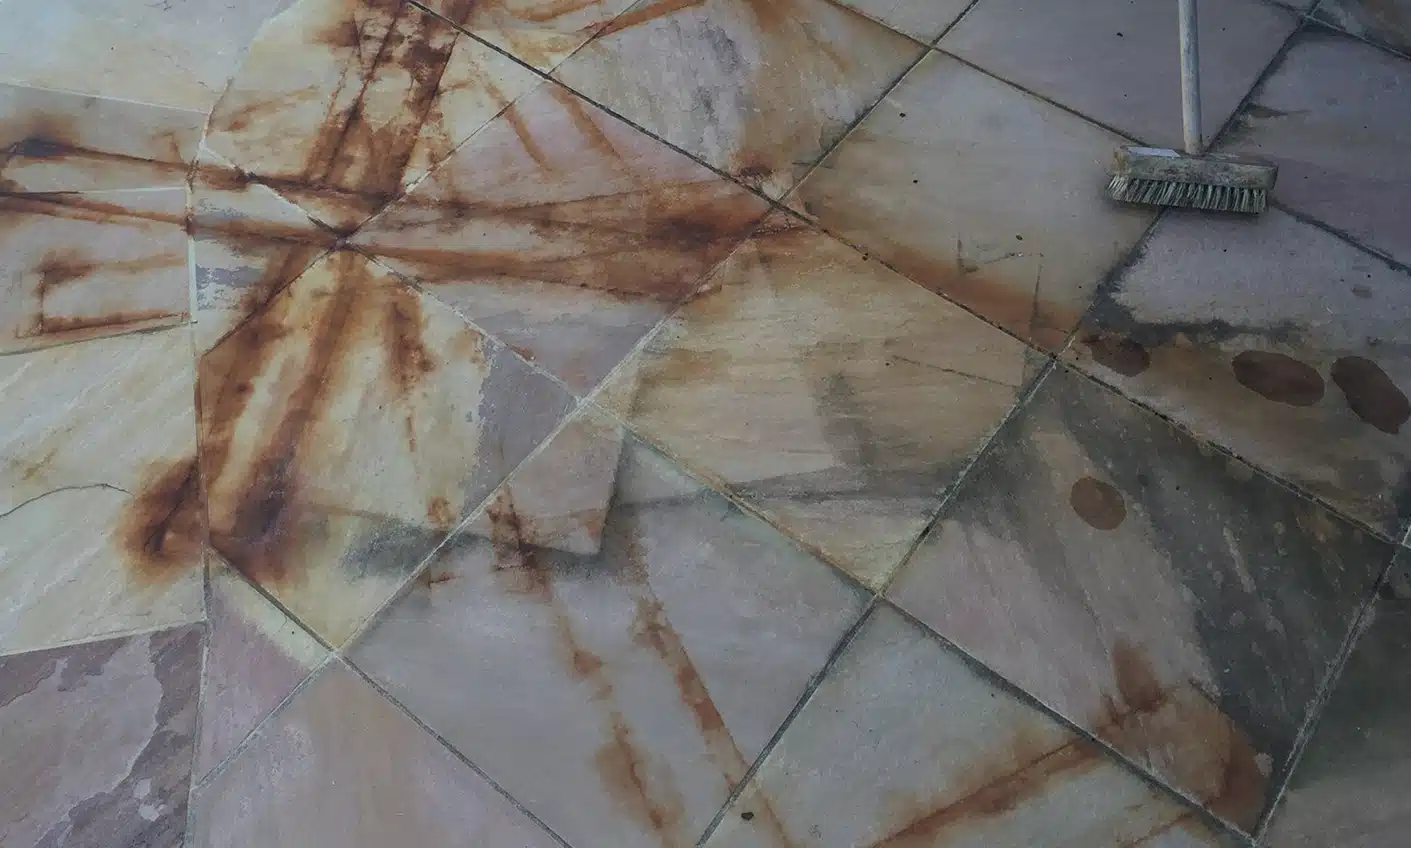

Once you have cleared the area you are working on, make sure the surface is thoroughly clean. You could use products such as hot water with dish soap, or bleach. Or, to save yourself time and effort, you could use a product such as Net-Trol cleaner and brightener. Whilst Net-Trol has been formulated for use on wood, it can also be used on concrete and stone tiles to remove dirt, grime and even rust stains. The images above show a customer using Net-Trol to remove rust stains on their patio.
If you have greasy deposits on your tiles you may need something a little stronger. You could use Pura-Trol, our water-based, industrial-strength cleaner and degreaser that can be used on a wide variety of surfaces.
You could also use a pressure washer if you have one or can rent/borrow one. Failing that, you can even just use a hose with a spray nozzle and a stiff bristled brush.
If necessary, you could also now fill in any cracks, chips or dents in your tiles if having a uniform appearance is important to you.
Then you should leave it to completely dry. Depending on the weather this could be a few hours to a few days.
Use the right products
Paint & primers

Painting patio tiles requires the right type of paint. There are quite a few masonry paints on the market, so make sure you chose one that is suitable for your specific tiles.
Some will also be 2-in-1 type products where it will contain a primer as well as a finisher. These can be more expensive and sometimes not of very good quality. If you want to make sure your paint lasts for as long as possible, we recommend using a primer.
If you plan on using a stencil and only painting small areas on your tiles, a 2-in-1 might be a better option for you. This is because lining the stencil up perfectly might be a bit tricky.
Tools
We recommend using a brush or roller that is made for painting stone or cement. They are usually a lot more durable as they tend to be made from nylon and polyester. These are excellent materials for durability and they retain their shape very well.
Depending on the size of your tiles will depend on the brush size you will need (as well as if you are using a stencil or not). We recommend you will likely need 2 sizes. A larger brush for big areas and a smaller brush for if you need to get into any edges, corners or if your tiles sit close to a building or fence etc.
You could instead opt for a roller and we recommend using a size that would be suitable for your tiles.
Whether you use a brush or roller to paint your tiles depends on the size and type of tiles you’re working on. Brushes are great for smaller tiles that may require precision, cutting in, and painting edges and corners. Rollers are great for achieving even coverage on flat surfaces and help speed up work on larger areas. Be sure to use the right tools for you and your project.
Stencils

The latest craze we’ve seen in the last few years is painting patio tiles with a stencil. This can turn boring concrete slabs into Mediterranean looking tiles quickly and easily. If you are planning on using a stencil and your slabs are quite smooth with next to no cracks, you could opt to use a roller. This will give you a more even and uniform finish for your type of tiles.
Alternatively, if your tiles have texture or have cracks and damage, you could opt for a stencil brush. These are short compact brushes perfect for stippling paint onto a surface. Using a normal brush is not recommended as it is easy to brush the paint under the stencil creating a messy edge.
Tips for stencil use
Try to keep your stencil as still as possible when using it. You could try using tape, but this may come unstuck quite easily. We recommend using something heavy in all corners instead. Something like stones or bricks you may have laying around the garden is fine.
There is also a bit of a debate as to when you should remove a stencil. Some say that you should peel it and remove it whilst the paint is wet, others say you need to give it time for the paint to begin to dry out. We think it’s somewhere in the middle.
Similarly to using painters tape to mask off any areas you don’t want to paint inside the house, we recommend you apply the paint and then wait a few minutes for the top layer to start drying out before removing it. Doing so will help alleviate smudging and you can get on with the job quicker.
Depending on how many tiles you plan to paint, you could also save time using multiple stencils. You could paint 2 at a time and then once one has dried enough, you can peel up the stencil and start again and have a nice little train going!
If you’re interested in learning more about stencils, head on over to Dizzy Duck Designs and check out their amazing range.
Leave lots of time to dry
We recommend giving yourself lots of time for the paint to adequately dry. Some paints will say they are quick drying and that you can walk on it within a few hours, but we recommend leaving it for as long as possible. After all, you don’t want to have gone through all that hard work and effort to only ruin it at the last step.
We recommend you leave the tiles for a good 2-3 days before walking and moving furniture on them. This will help give the paint time to bond to the tiles. Warmer and dyer weather will also help speed up drying times, so you could try to plan the project around some good weather to help out.
Sealing your patio
This one seems a little up for debate. Some say it is necessary and others say it isn’t as the paint is strong enough. It depends on just how much traffic that area will be subjected to. Do you have any animals that will be coming in and out several times a day every day come rain or shine? If so, giving your hard work a little extra protection may be beneficial for you.
In our opinion, if you have the time and the budget, sealing your patio can’t hurt!
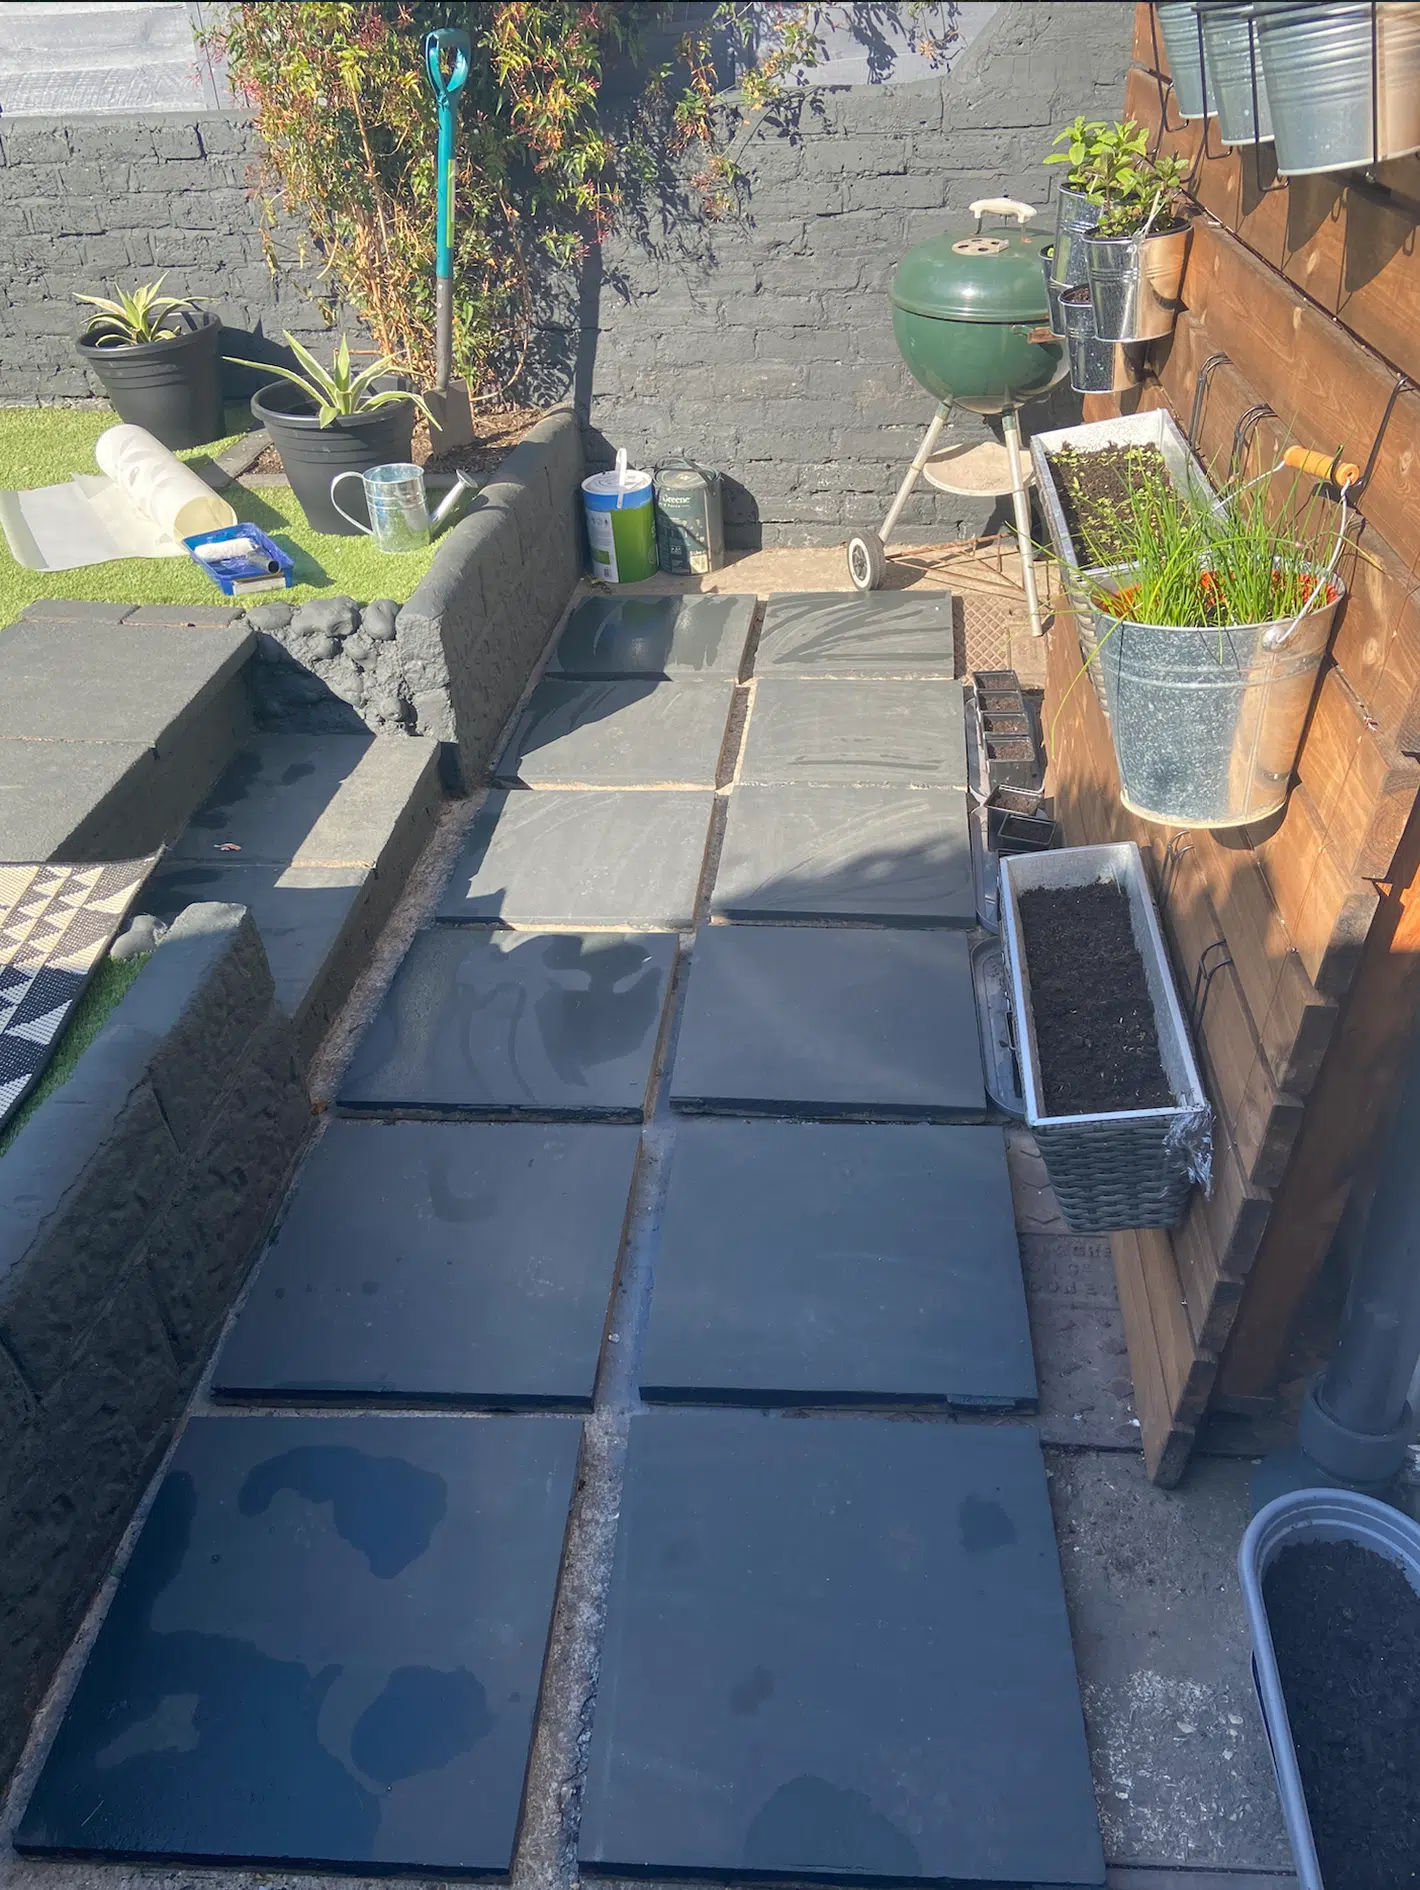
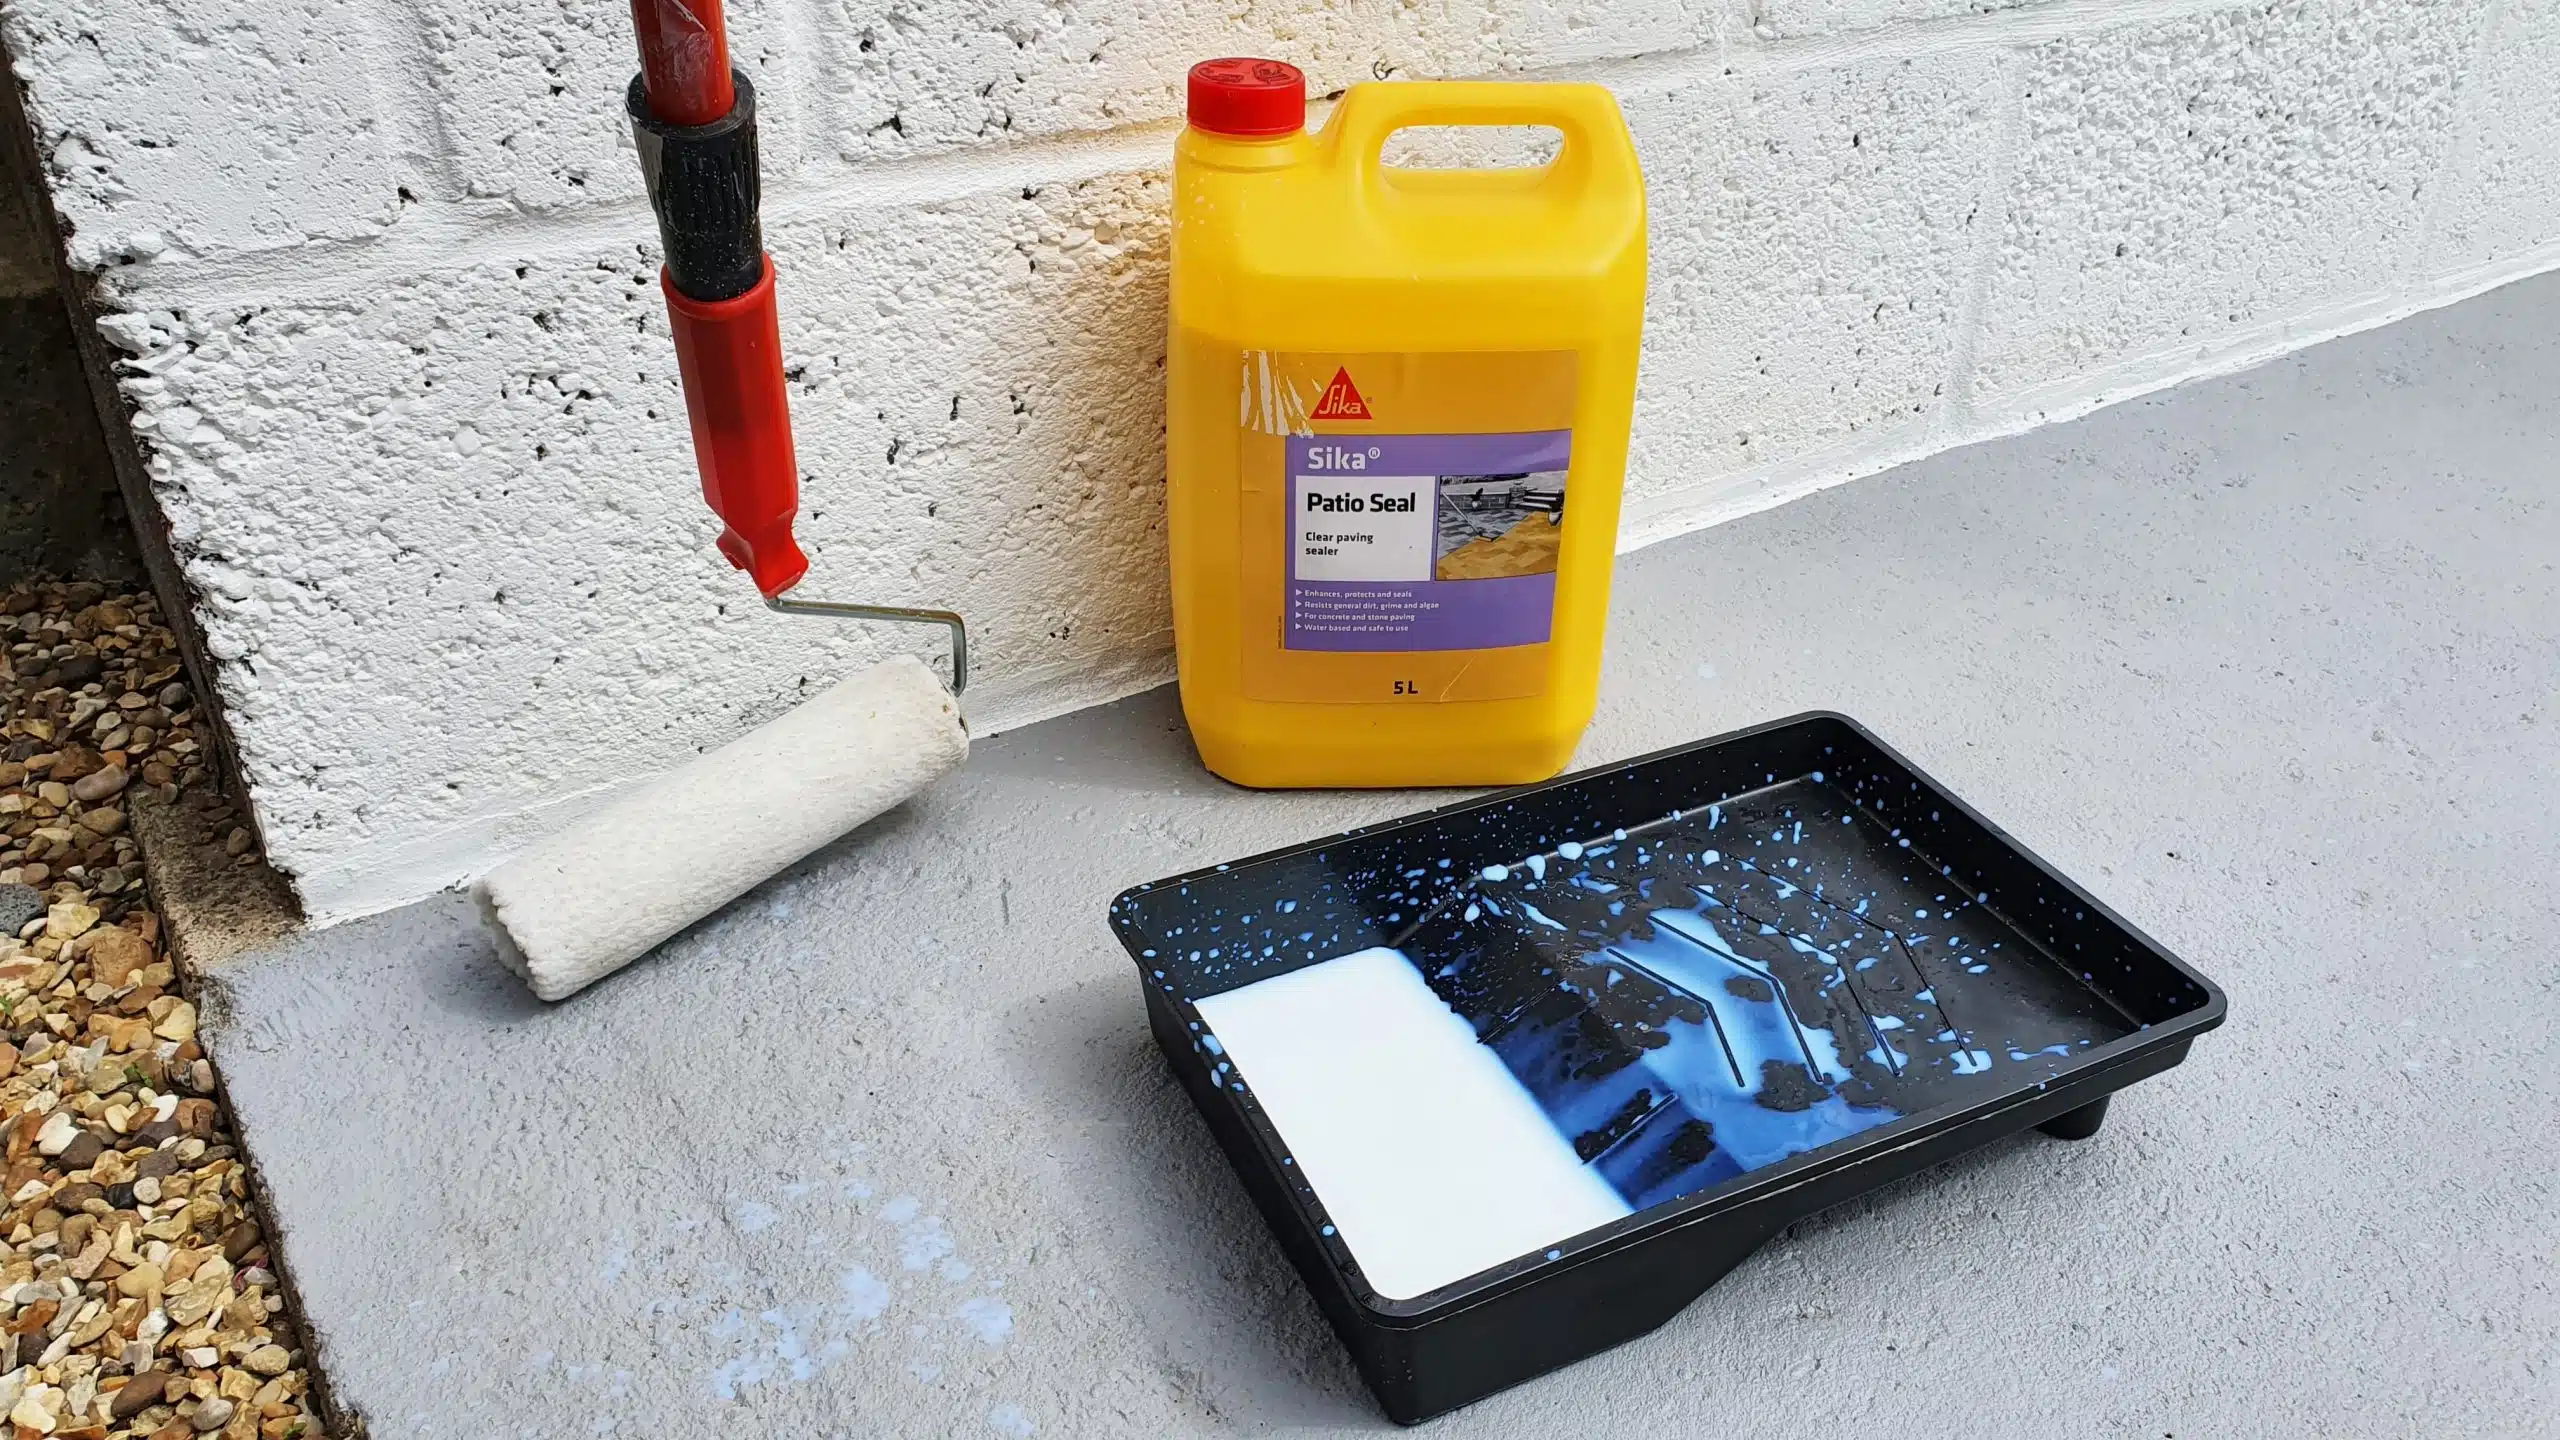 Image credit to Victoria’s Vintage.
There are quite a few paint sealers on the market so be sure to research which is right for you. You could use a heavy duty floor varnish but these can be quite expensive. A water-based patio sealer will work just as well, but you may need to apply several coats.
We hope you found this post on top tips for painting patio tiles helpful. If you have any other tips, tricks or advice, please feel free to leave them in the comments below. We love hearing from you!
Want to keep up with all things Owatrol? Why not follow us on social media? You can find us on Facebook, Twitter, Instagram and Pinterest at @owatroluk or at the hashtag #owatroluk
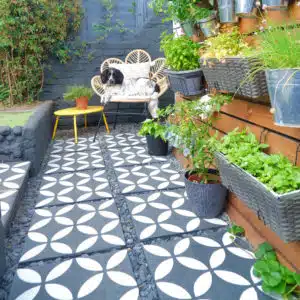
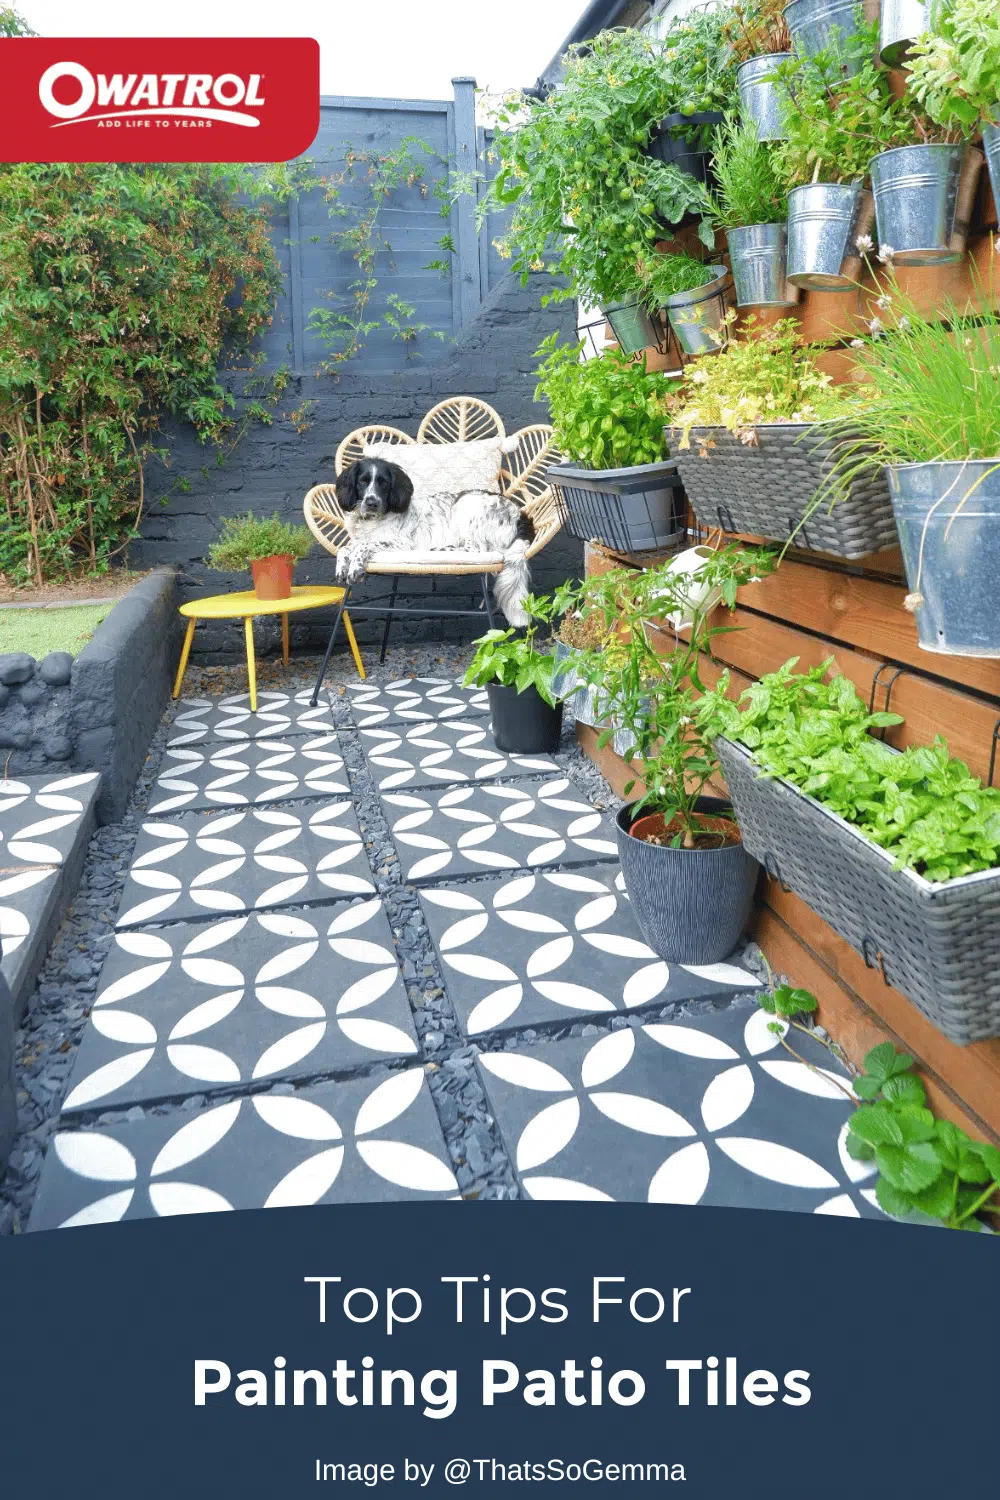
Header image credit to That’s So Gemma
About Owatrol Team
Our team are ready and willing to support you with your requirements whether it is protecting your newly laid deck or renovating a luxury yacht, whatever the application Owatrol has the solution you are looking for.