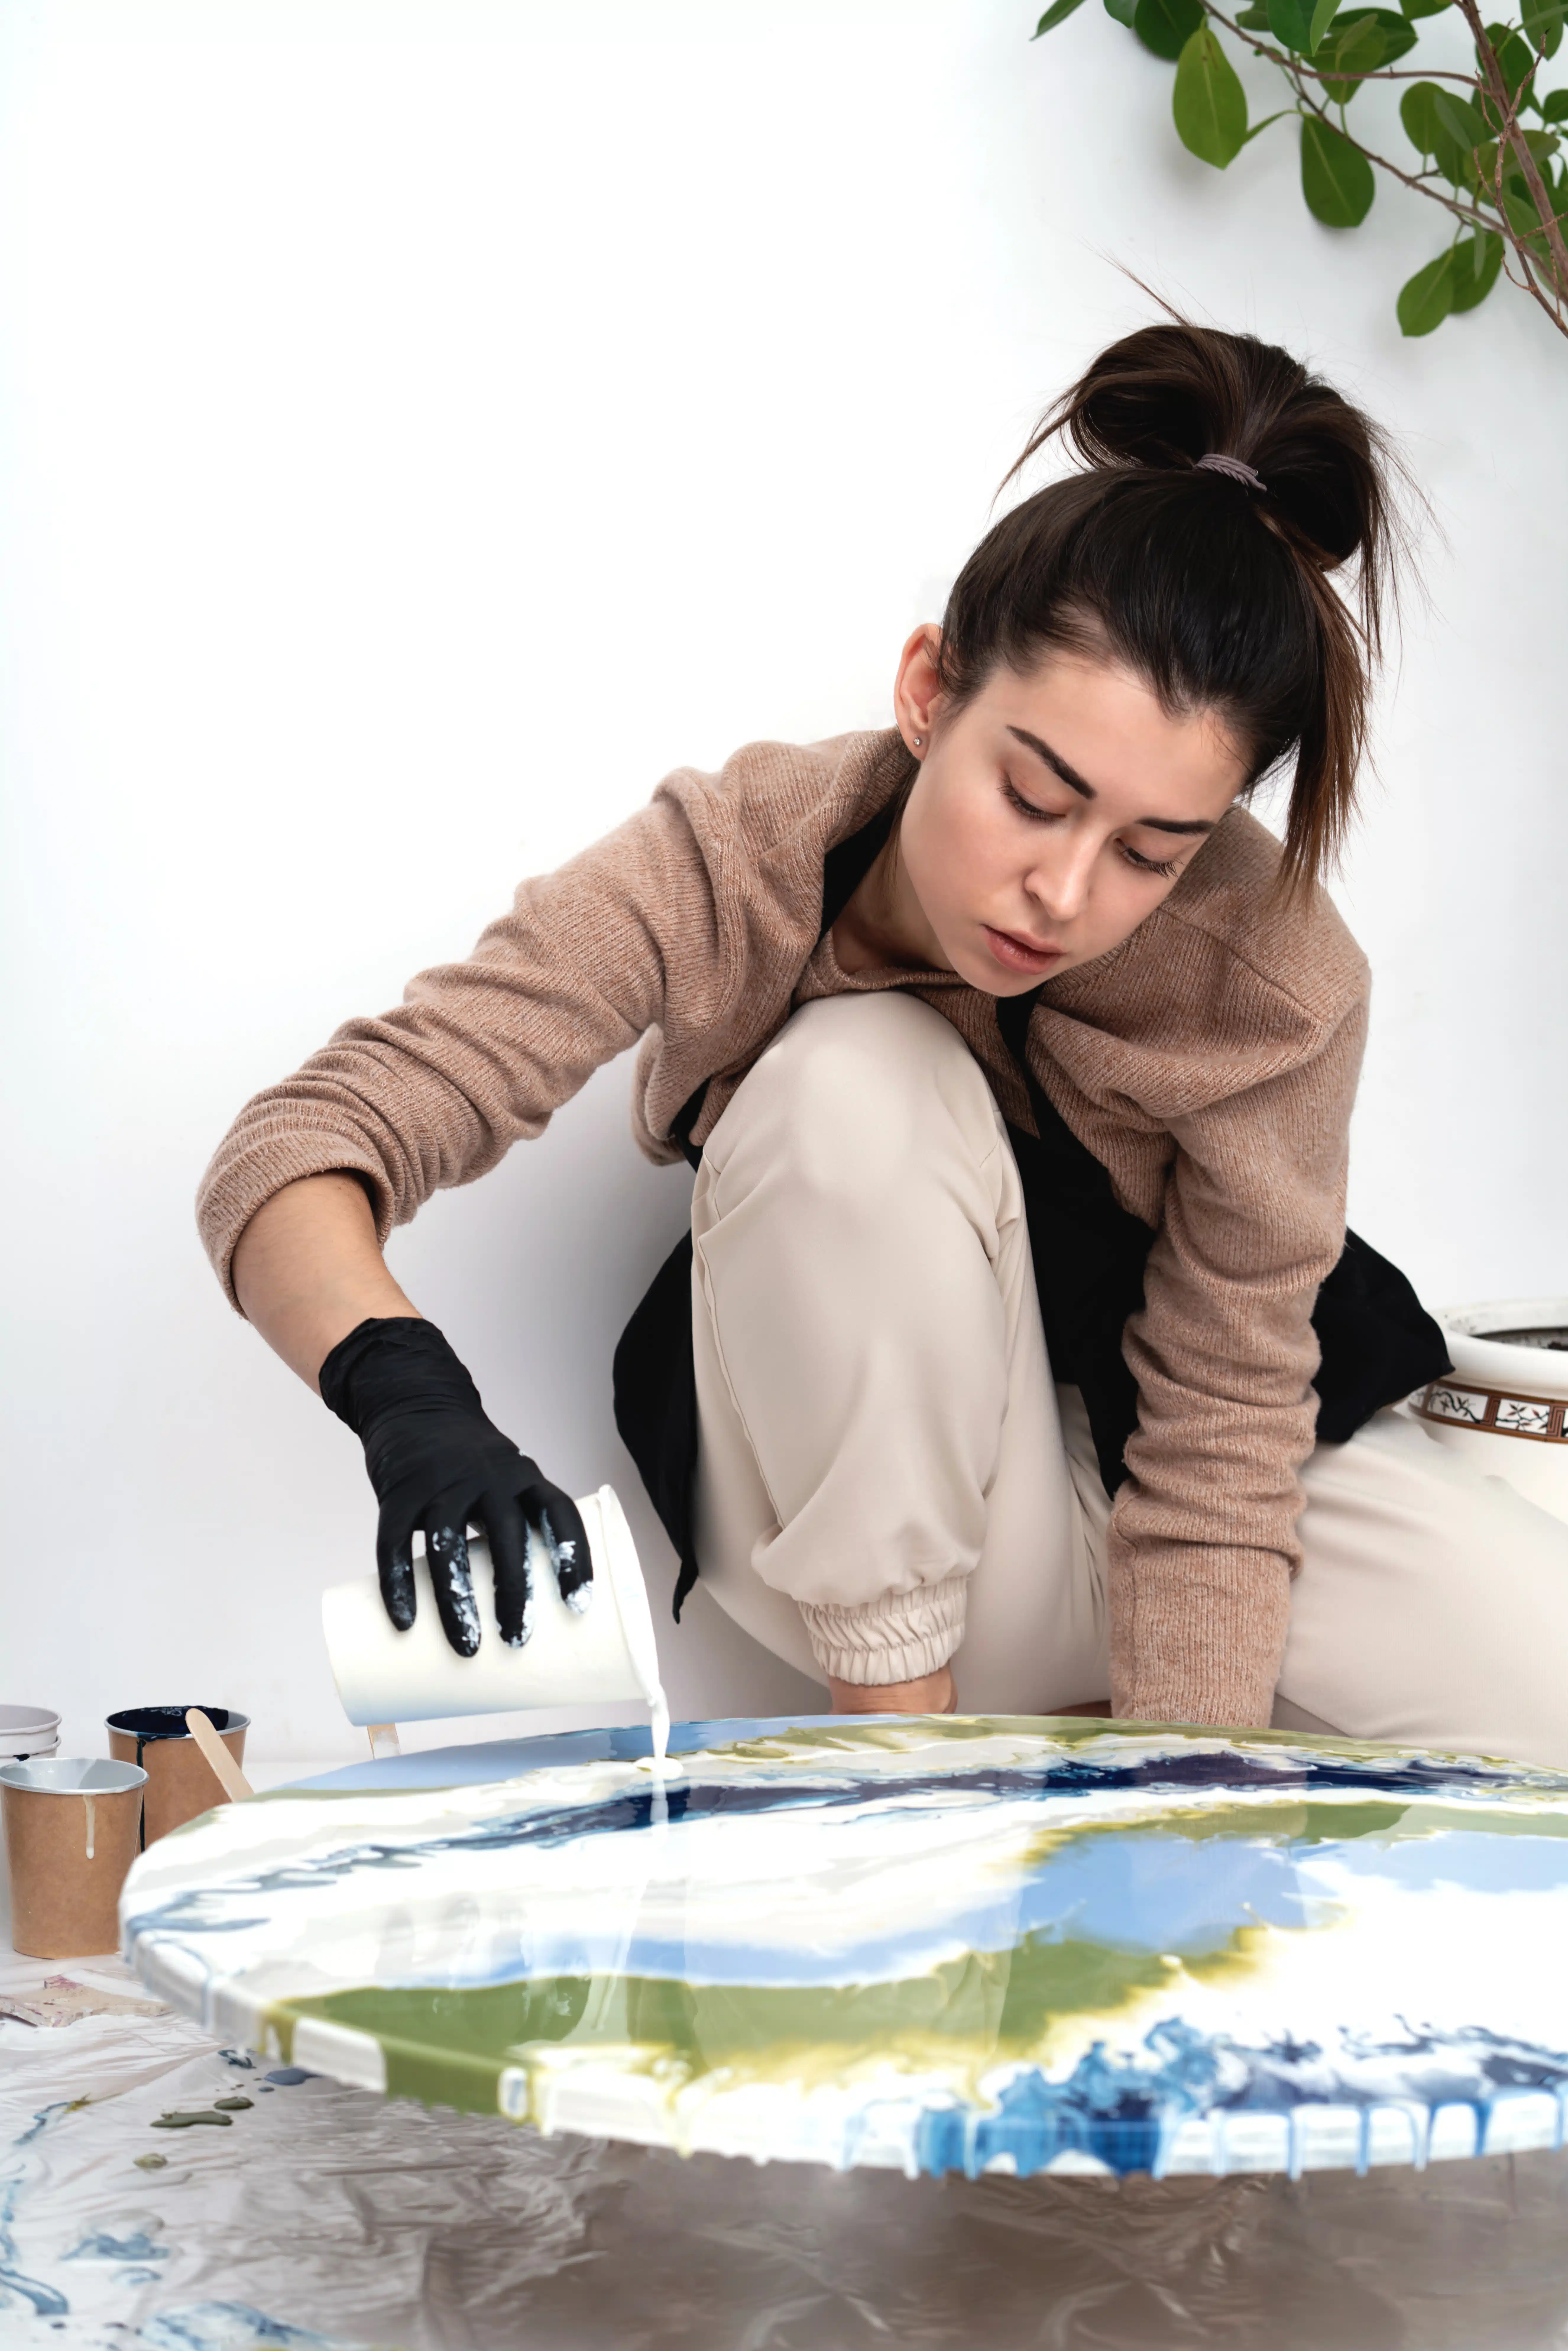

To those not in the know, it can seem like acrylic paint pouring is very simple and in some ways, it is. However, there are so many little things along the way that can ruin your artwork all too easily.
So, we are going to be detailing the top 10 most common paint pouring mistakes and how you can avoid them.
Ratios/consistency and crazing/cracking

To create a piece of fluid art you just mix up some paint in a cup and then pour it out onto your canvas…right? Wrong! Getting the ratios right for your paint is arguably the most common mistake for paint pourers. It can take a lot of trial and error to get your paint to behave how you would like it to.
Having your paints be too thick can spell disaster as cracking/crazing can occur whilst drying. This is when the paint on top dries at a much faster rate than the paint below and as it settles into place, it pulls the paint apart. Once dry, it is difficult to fix.
Likewise, if your paints are too thin and watery, the colours will bleed into one another and take a very long time to dry.
Another common way in which people experience cracking/crazing is by moving their painting before it is dry enough. As we mentioned earlier, if the paint on top is much drier than the paint underneath and you then pick it up and move it, you are likely to disturb the wet paint and create those unsightly cracks!
It’s all about trial and error to get the consistency you want, using the product/s you want. Some will use only water, some only paint conditioner, some add silicone, and some use a mixture of them all! There are a lot of artists out there that share their ratios online, so if you’re having issues getting the right consistency, you could look into what others are doing.
Silicone/lack of cells
Some people use silicone in their paint mix which is used to help create cells by pushing the paint around the oil. Different quantities of cells are created by using different densities of pigmented paint. For example, titanium white is very dense and the pigment will sink straight away to allow you to create many cells and lacing effects.
You will be able to find a guide on paint colour densities online.
However, a common mistake is using too much silicone. More silicone doesn’t equal more cells. Silicone is an oil and mixing too much into your acrylic paints will usually result in a pitted surface on your painting, or muddy colours as the paint becomes overworked. You will likely only require 1 or 2 drops.
Blow Torch

Blow torches, hairdryers or heat guns can all be used to help activate silicone, causing it to rise through the paint and create those much sought after cells. However, you should always keep your heat source 20cm away from the paint.
Not only for safety reasons, but using a heat source for too long can scorch the paint, or cause the top layer of the paint to dry whilst leaving the underlayer wet. This can lead to cracking/crazing as mentioned earlier.
For best results, always use the lowest heat setting, keep a 20cm distance away and apply the heat for as short of a time as possible.
Level surface
Another thing you may find happening is that when you are finished pouring, your piece looks great! Then, once dry, you come back to find paint pooling to one side, or perhaps even flowing off the surface altogether. As frustrating as this is, luckily it’s quite an easy fix!
This is likely due to the surface it is drying on is not level. The best way to check your level is to use, well, a level! They are very affordable and readily available in all DIY shops. If you’re in a pinch, you could download a level app on your phone, however, we are not sure just how reliable they are, so use them at your discretion.
Once you can see which direction you need to change to make the surface level, you can use anything you have to prop under an edge or two to balance it out:
- Thumb tacks
- Plastic/wood wedges
- Pieces of paper/cardboard
- Flat lollypop sticks
Muddy / muted colours

Another one of the most common paint pouring mistakes is due to paint colours getting muddied or muted. Unfortunately, the fix for this isn’t that easy as there are many factors as to why this is happening.
Some of the more commons reasons are:
The colours used – As simple as it sounds, using a certain combination of colours could simply be the issue. Having a basic understanding of colour theory will help you here. This is much less of a problem if you are laying colours next to each other, but once they are mixed, the bright colours may become dull and brown/grey. A good rule of thumb is to use paints that are on the same side of the colour wheel when mixing.
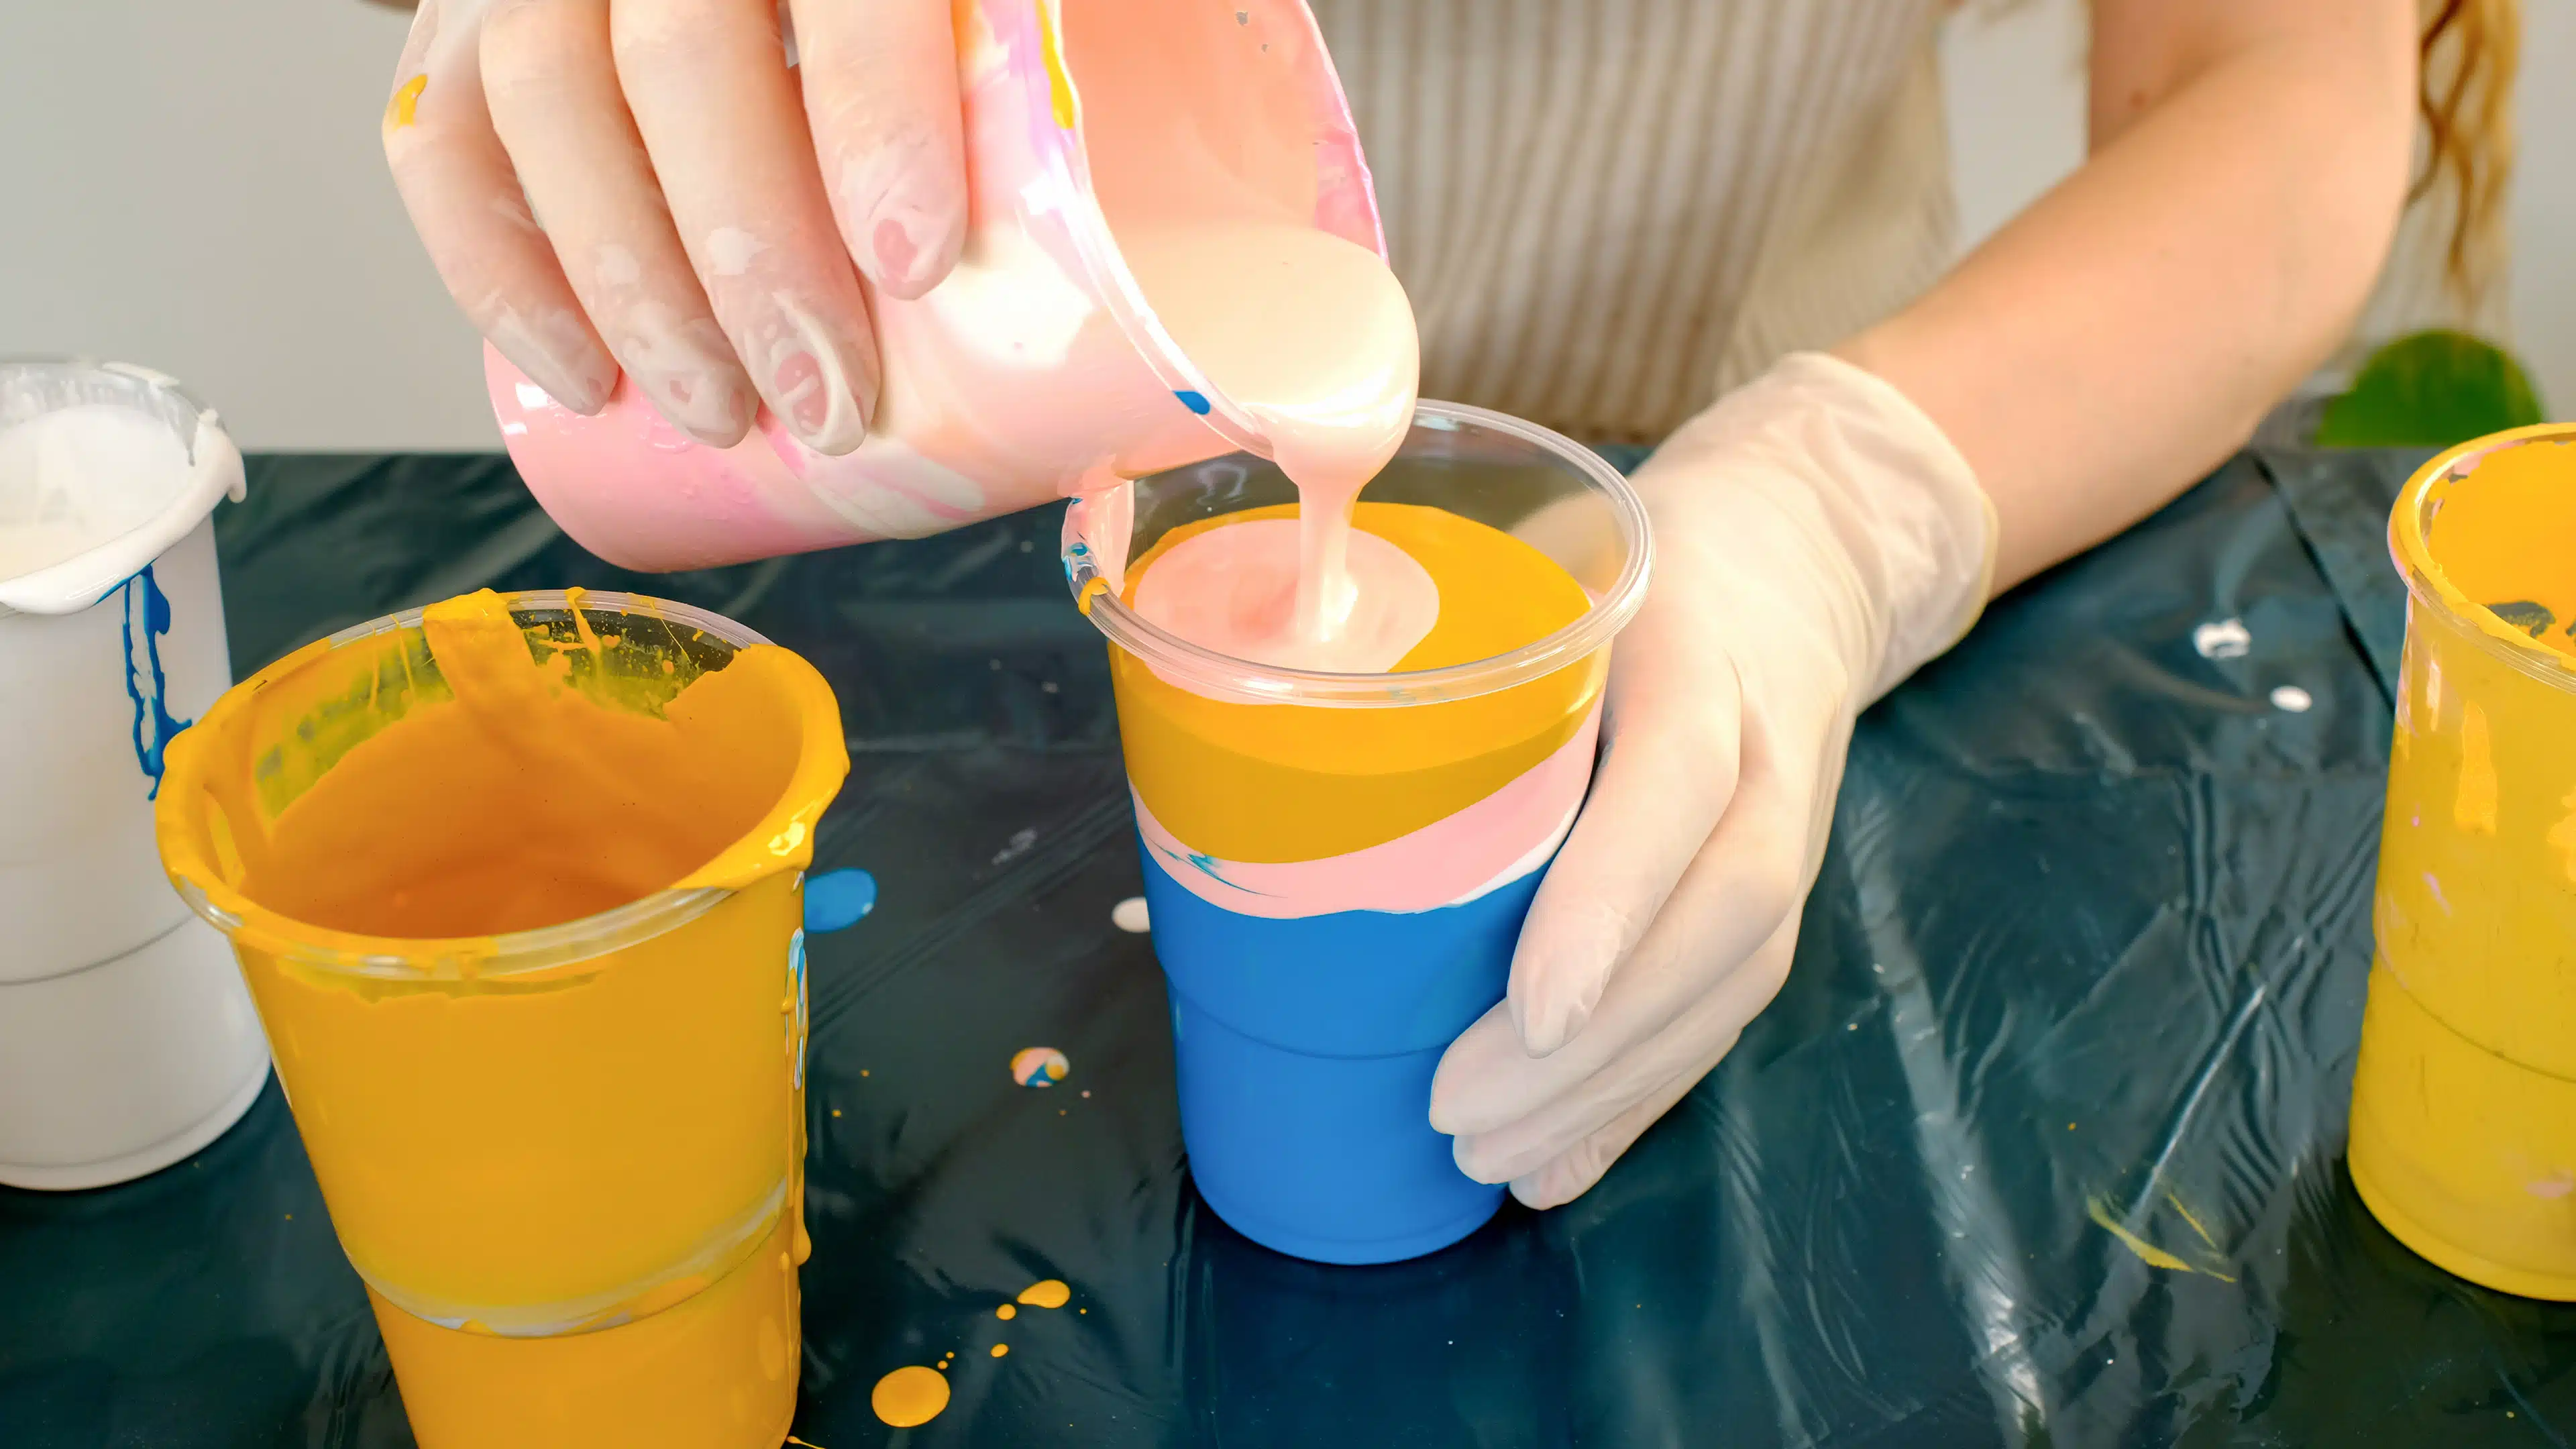
Overworking the paint – Another really common way your colours can become muddy is by over-tilting or over manipulating the paint. This can occur either when the paint is in the cup or when you are pouring the paint out.
The first of two ways to help stop this from happening is to know when to stop. This is easier said than done for some but will come with time and experience. The second thing you can try is to tip your cup when placing multiple paints in and have them run down the inside slowly (rather than tipping them straight into the middle from above). This way they sit on top of one another much better instead of mixing.
Paint consistency – The more watered down your paints are, the more they will mix. A lot of people will use a combination of a paint conditioner such as Floetrol or Aussie-Trol and water to get their paints to their desired consistency. When doing so, it’s very important to do it very slowly and a little at a time. If you do end up making a batch that is too thin, you can add more paint back into the mix to get it to thicken up again.

Using the wrong products
One of the most common issues we see is when people have the best intentions, but use the wrong products. Obviously, art is subjective and how you want your art to look is completely up to you. However, there are certain things you may want to avoid to get the best pour possible.
A few examples are:
Oil paints – Oil paints are, by nature, an oil based product. This means it will not act in the same way as acrylic (or water-based) paint. Plus, oil paints are more expensive than acrylic paints, so you’d be doing yourself a favour in multiple ways!
Poster paints – Otherwise known as tempera paints. If you are just starting out and don’t plan to sell your pieces, this could be a suitable option for you. However, poster paints are washable and can be reactivated with water so they are sometimes known as “semi-permanent paints”. Because of this, the paints are also not archival and are prone to fading and discolouration.
Polyurethane sealants – If you are sealing your paintings you will want to avoid the polyurethane versions. This is because it will yellow very quickly in comparison to other types of sealants such as polyacrylic ones. Having your piece turn yellow can be very frustrating, especially if it has a lot of white or light colours.
Avoid complex pour techniques as a beginner
If you are just starting out, or want to begin paint pouring, you should avoid complex pours for now. This is because although acrylic pouring in general can be ‘simple’, there are major differences that distinguish between beginner and advanced techniques.
That old saying applies very well here, “don’t run before you can walk.”
We recommend that you try out the more beginner friendly techniques first. Things such as the dirty pour, the flip cup and the simple swipe. Doing so will help give you a better understanding and appreciation for the consistencies and equipment used.
Particles on the painting
Getting a piece exactly as you want it for it to then be ruined with dust, hairs or other particles can be extremely frustrating. Luckily, it is another on the list that is an easy fix!
Begin with cleaning the surface which you intend on painting with a lint-free, ever so slightly damp cloth. This will remove any dust, hairs, lint or any other particle that is sitting on it.
Then, once you have completed your painting, you should cover it as it dries. One of the more common ways is to cut the flaps off of a cardboard box and turn it upside down over it to protect it. Or, equally, you could use a ridged plastic box.
Cup size
This is something we have seen people often not considering when doing a flip cup pour. If the cup in which the paints are poured into is too large, when it comes to flipping the cup over, all the colours will mix into the large empty space upon exiting.
You will notice the more dense paints, such as titanium white, will often fall to the very bottom of the cup. This can cause issues with mixing into all the other colours it passes as it falls through them. Where possible, we recommend using cups that will suitably hold the amount of paint you will be using.
Prime your surface
Priming will reduce the risk of unwanted bumps and pinholes in your work. This is another easy fix to get better, more professional looking results. Some canvases come primed already, so do check beforehand. However, if yours are not, this can be done in a couple of ways;
- Simply apply a coat of primer.
- Or, use gesso. This is paint mixed with a binder such as chalk, glue, plaster of Paris etc. that is specifically designed to prime a canvas.
Both are great for priming the surface, but gesso can be a little more expensive, so it depends on your budget. Once primed, you should be able to notice the paints going on and moving around the canvas better.
However, it should be noted that pinholes can also appear if you shake your paints too much and then do not let the bubbles pop before pouring. If you have given your paints a vigorous shake, leave them a few minutes after mixing before you pour.
Please note:
Whilst the above are things that some people would like to avoid, always remember that art is subjective. You do not need to follow any or all of these tips, this information is just what we have noticed people discussing in the paint pouring community.
We hope you found this post on common paint pouring mistakes helpful. If you have any other tips, tricks or advice, please feel free to leave them in the comments below. We love hearing from you!
Want to keep up with all things Owatrol? Why not follow us on social media? You can find us on Facebook, Twitter, Instagram and Pinterest at @owatroluk or the hashtag #owatroluk

About Owatrol Team
Our team are ready and willing to support you with your requirements whether it is protecting your newly laid deck or renovating a luxury yacht, whatever the application Owatrol has the solution you are looking for.